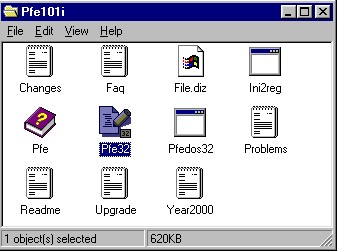
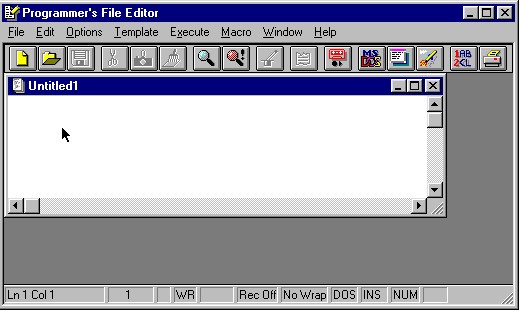
2) To run PFE, simply double click the Pfe32 icon. The following window will open:

3) Create New file from the File Menu and type your Java source codes in a text file.
However, one of the advantages of using PFE over simpler editors is that it allows you to automatically execute DOS commands. You can configure PFE so that the Execute menu contains the DOS commands you are interested in executing. To begin with, let's add the javac command to the Execute menu. This will mean that once we have written our Java source code, we can simply select the javac item from the Execute menu, and our code will automatically be compiled, without us having to go into DOS and type the javac command at the prompt.
2) Select Execute Menu
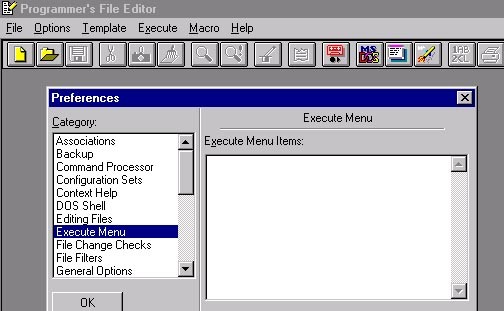
3) Click New Button
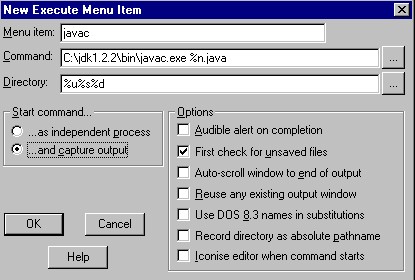
4) Type javac in Menu Item text field.
5) Click the button at the end of the command text field to select the
command.
For example: "C:\jdk1.3\bin\javac.exe"
Type %n.java after it
6) Type %u%s%d in the Directory text field.
7) Click ...and Capture Output check box.
8) Click OK button to insert the javac command.
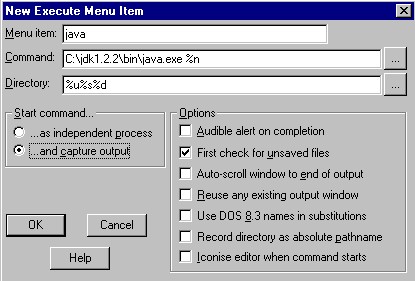
2) Type java in Menu Item text field.
3) Click the button at the end of the command text field to select the
command.
For example: "C:\jdk1.3\bin\java.exe"
Type %n after it
4) Type %u%s%d in the Directory text field.
5) Click ...and Capture Output check box.
6) Click OK button to insert the java command.
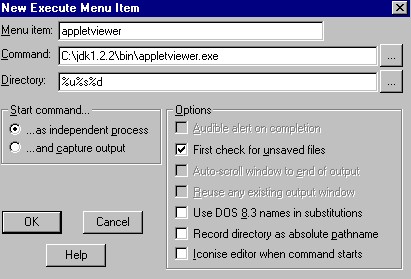
2) Type appletviewer in Menu Item text field.
3) Click the button at the end of the command text field to select the
command.
For example: "C:\jdk1.2\bin\appletviewer.exe"
Type %n.html after it
4) Type %u%s%d in the Directory text field.
5) Click ... as independent process check box in Start command
6) Click OK button to insert the java command.
2) Choose Execute|DOS Command to Window...|javac to compile it.
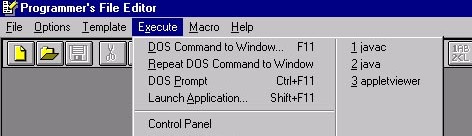
2) Choose Execute|DOS Command to Window...|java to run it.
2) Choose Execute|DOS Command to Window...|appletviewer to run the applet.
2) Click File whose name is not in any mode group check box.
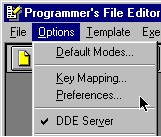
3) Click Edit Modes button.
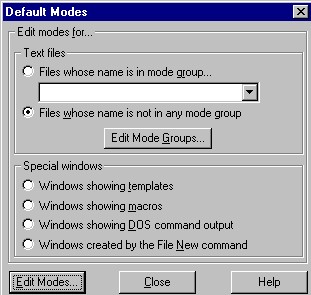
4) Select Input from the Mode type:.
Click Auto-indent new lines check box.
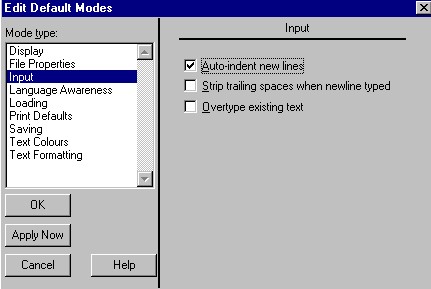
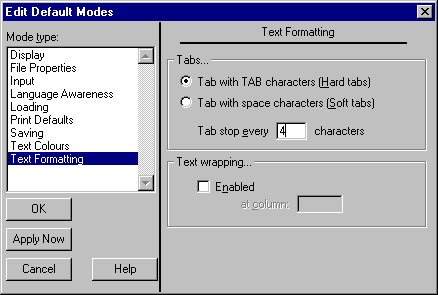
5) Set up tab spaces
Select Text Formatting from Mode type:.
Change Tab stop every 4 characters